Showing posts with label shelter. Show all posts

Monday, 21 January 2013

A Winter Walk

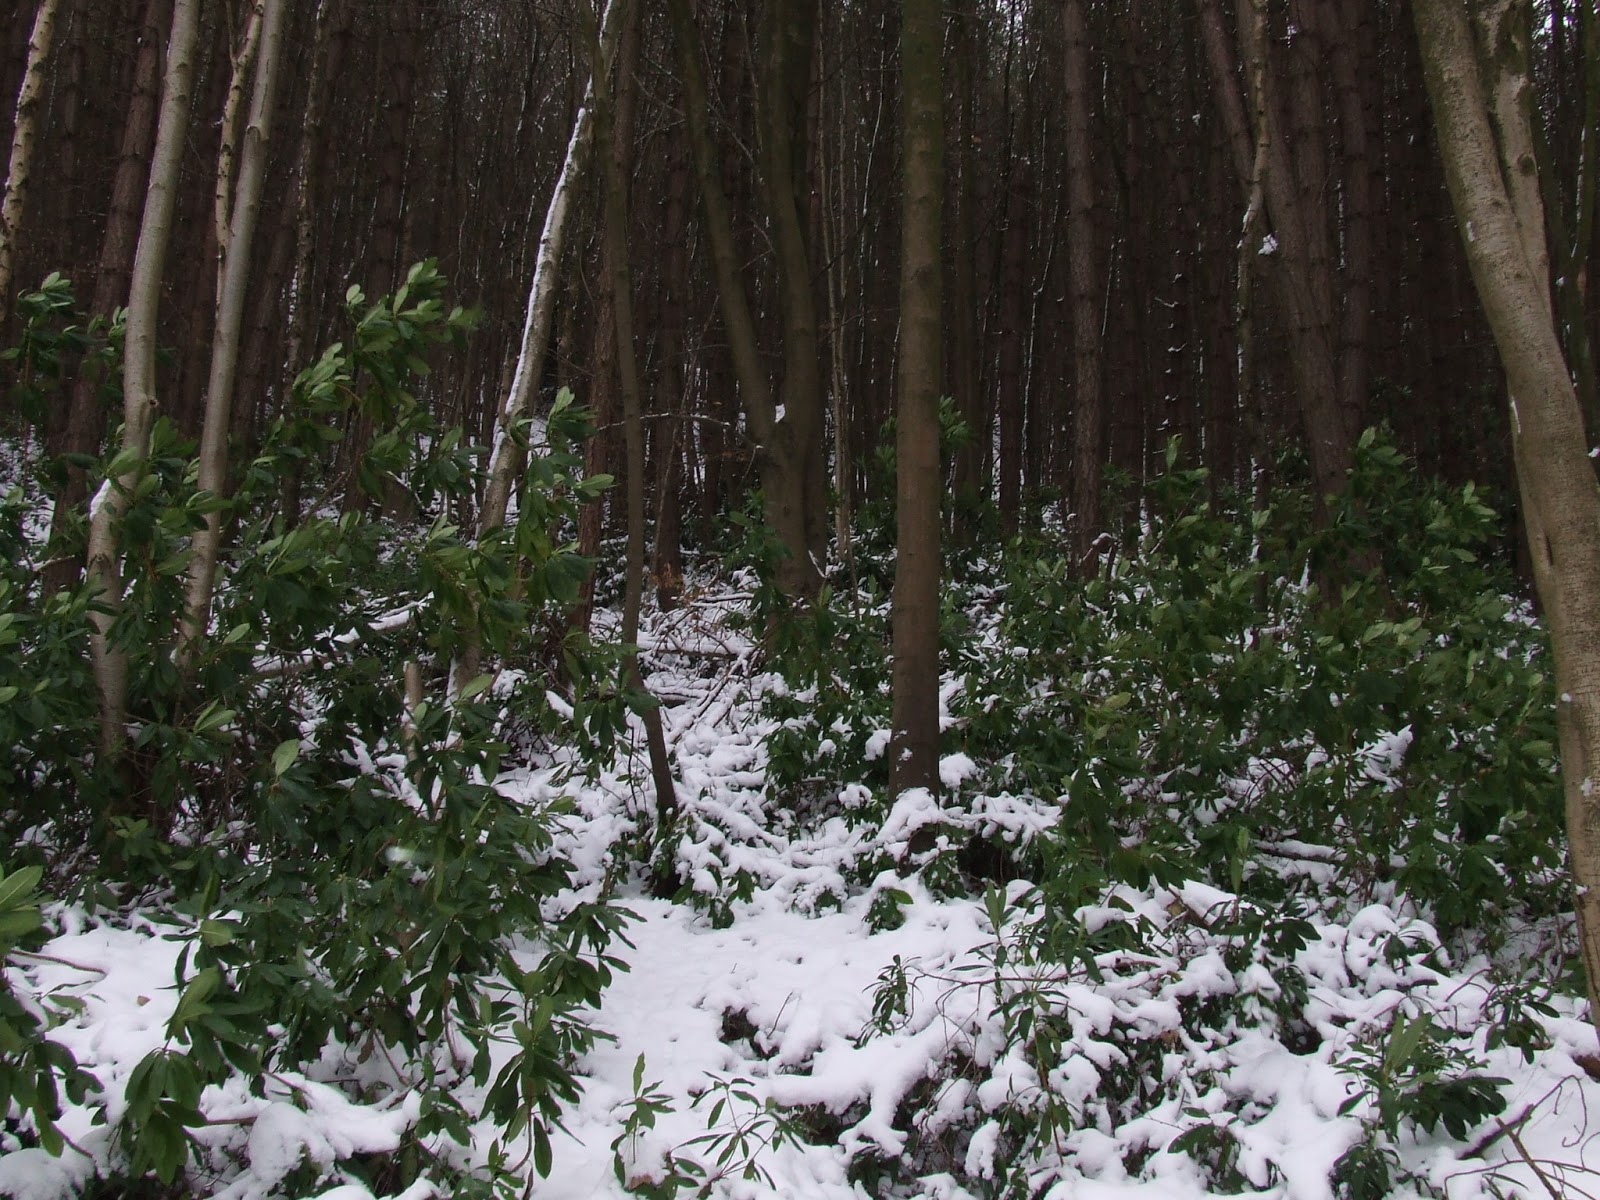
It's been a little while since I've posted anything on my blog, so I thought I'd share a few photo's of the little snowy walk that Gemma, Rocky, and I went on today. We walked the same route that Rocky, Pete and I took back in October (you can read about that here if you like), up and down the hills and valleys near Ashover. The only real difference being that this time the crawling uphill under the undergrowth was made even more fun by a good covering of snow, happy days.

The intrepid three about to venture off into the snowy wastes

Stepping stones over the infant river Amber.

I've been wondering about this wall since I first walked past it, there's a few of them in the area, they look like up-ended flagstones. Re-cycled road maybe?.....

......The same wall from the other side. If anyone has any ideas about this stone fence I'd love to hear them. Comment below.

Rocky and I having a little breather and losing a layer or two after the climb out of the first valley.....
.....before heading off down into the next one.
We weren't heading this way..........
....nor this.
I can't believe he's got butter! (sorry)
Starting to head up the nice leisurely footpath, again......
......but this looked much more appealing, again. We'll never learn.


The hill took way too much effort to stop and photograph anything, pretty much like the last time we climbed it, but with a cherry on top (well a foot of snow anyway). Somewhat surprisingly we got up there quicker in the snow than we did back in October when it was relatively dry, I'm sure the much smaller bags were a big part of that but we were still both surprised and pleased by our progress.


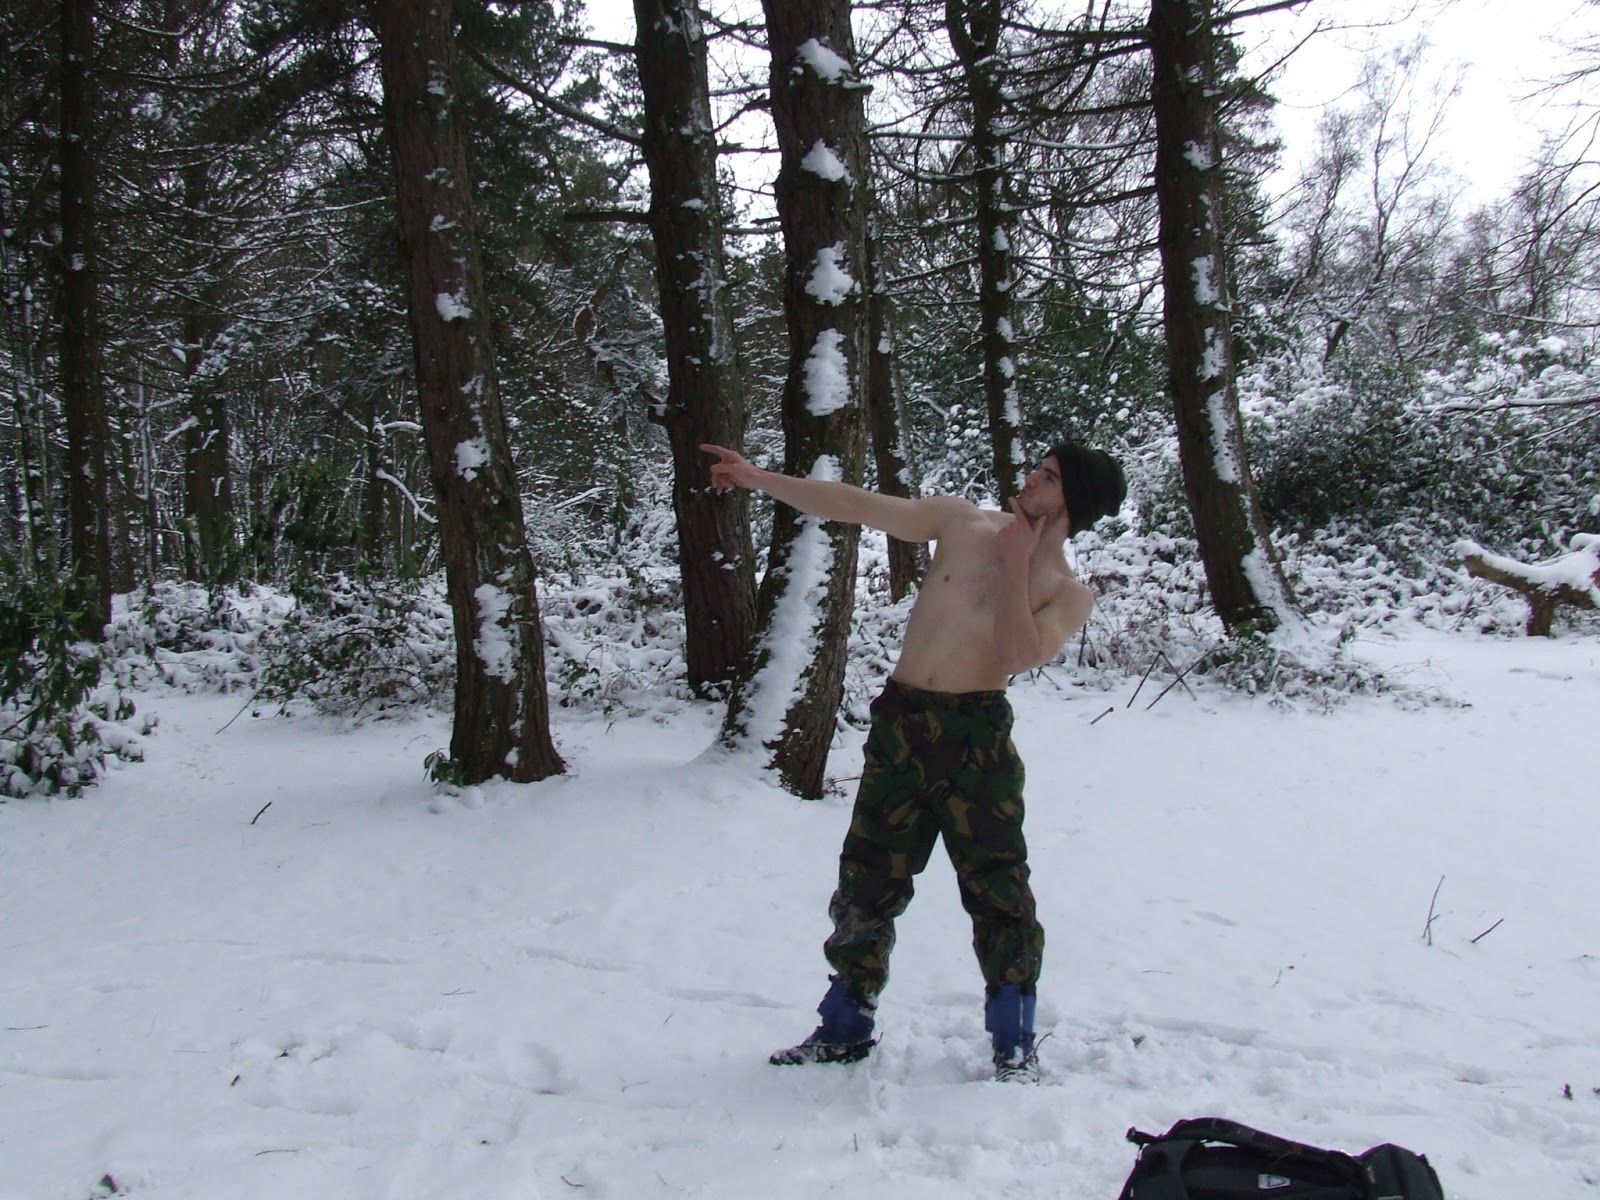
At the top it was time to replace those lost layers.....
.....which gave Rocky an opportunity to be Rocky (he's a pillock but we love him).
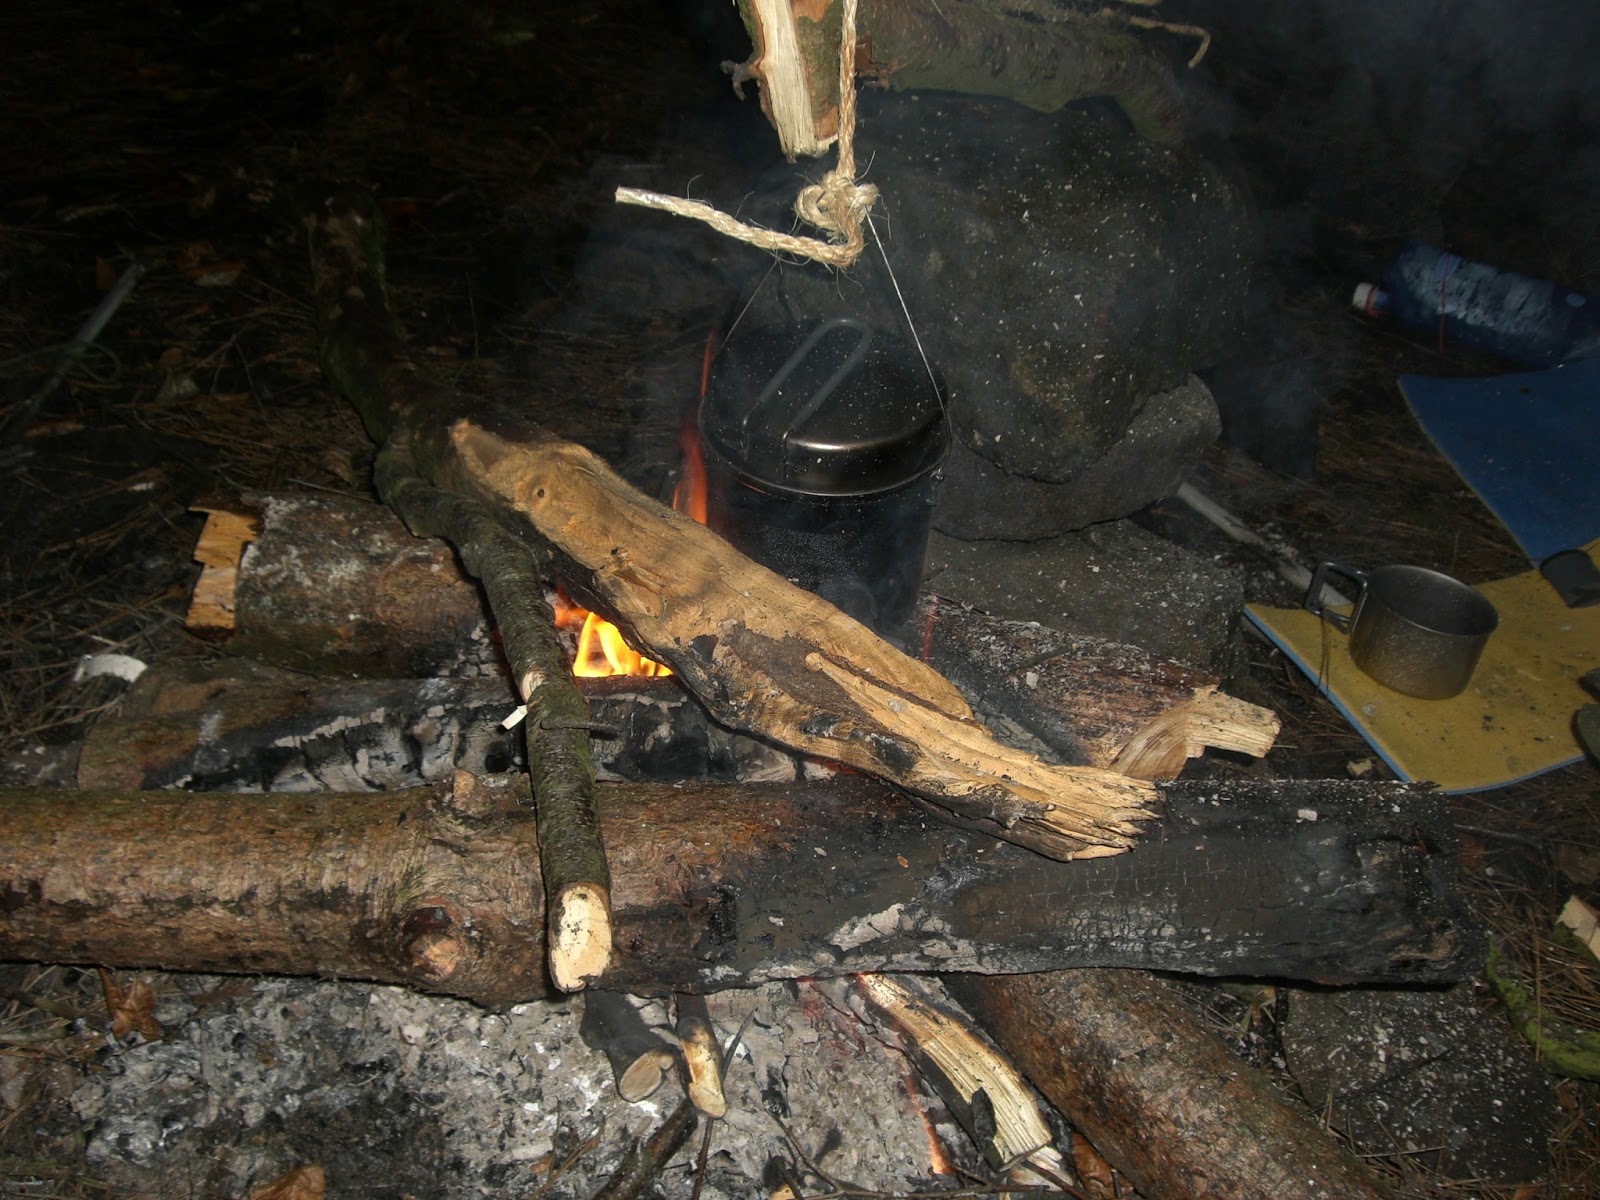
A tarp was set up to provide a little bit of shelter from the wind whilst we had a spot of lunch and a brew......
.....and had a look round for some nice photo opportunities......
.....unfortunately, after this shot the batteries succumbed to the cold. 

After a couple of burgers and a bit of soup for lunch we filled our flasks for the walk back, packed away, and headed off home. The walk back took a slightly different route, including a detour to look at some caves and scout out a possible new climbing spot for the summer. All in all a cracking day out in the beautiful snowy Derbyshire coutryside.

Bye for now,

Stuart.

Monday, 5 November 2012

A Weekend Away

A couple of weeks ago my mate Rocky asked me if I fancied a couple of days out in the Peak District camping, chilling out, watching the fire, and maybe a little climbing if the weather was good. A bushcaft friend of mine, Pete, has been thinking of getting into climbing for a while so I thought it would be a great opportunity for him to have a go and invited him along too.

In the end we decided to go to a spot close to home, not quite in the Peak District but close enough. The location we chose was a little woodland on top of the glacial valley overlooking Ashover. It's a great little spot where I've camped quite a few times, and Rocky and I have climbed there before, but it was Pete's first visit.

After quite a late one the night before and with a last minute trip to pick up supplies we didn't set off to the camping spot until early afternoon. That shouldn't have been a problem though, we only had a couple of miles to walk and although we had a few hundred feet of altitude to gain it was all along a nice even path that snakes it's way up the hillside. The best laid plans and all that. After about twenty minutes of walking we reached a spring that we wanted to check out as a possible water source, so a quick break for a drink and a smoke whilst we had a good look at the spring seemed like a good idea. Once the rucksacks were off our backs, and we'd had a few minutes to sit and cool down we all started to get a bit more active, the winding path no longer looked so interesting, the really steep muddy hillside completely covered in overgrown Rhododendrons however looked like a great idea. So the suggestion was made that maybe we might want to try the slightly trickier route straight up the hillside, a quick vote was cast, and the decision was made. Onwards and upwards it was. Crazy.

Looking back the way we came, nice easy walking along a clearly defined path, bliss....... 

.....And the way we were going, straight up a muddy slippery hill over fallen trees and under low growing Rhododendrons, hellish.

I didn't take any pictures on the way up the hill, it was simply too much like hard work to stop and photograph anything. This is Rocky crawling up the last little section to the top, we had to resort to taking our packs off and pushing/dragging them like this on a few occasions. Good times. 


I'm not entirely sure what this expression portrays, quite possibly "I'm going to kill whoever's stupid idea this was".

Once we'd made the top it was time to put the bags down and rest our legs for a bit. You can just see the very last bit that we had to climb up behind Rocky and Pete in this picture, it was ropes and teamwork for this last bit. 

The walk in had taken us about two and a half hours, and we'd covered a little over a mile. I've had gentler strolls. Once we'd reached our chosen camping spot we only had a few hours of daylight left so we got a fire going and settled in for the evening.

With the fire lit and a quick pot hanger knocked up it was time to get a brew on 

One of the problems associated with any kind of outdoor activity at this time of year is the lack of daylight hours. Sunset was at about 16:30 on Friday night which left us with very little choice other than to sit and watch the fire and drink wine, no real hardship. One of the advantages of darker nights is that the local wildlife gets out and about a lot earlier in the day so you've got a much better chance of spotting things. During a wander to the facilities I heard lots of rustling in the undergrowth so stopped and listened to try and work out what I was hearing. At night time in the woods sounds seem to get amplified out of all proportion, the rustling in the undergrowth that had stopped me in my paces at a good ten yards distance turned out not to be bears but wood mice (Apodemus sylvaticus), who appeared to be completely happy with our presence, one of them even let me get close enough to take this Photo:


The next day was spent enjoying the views.....


.....and a little bit of campsite improvement. I bodged together an adjustable pot hanger, the crane's a length of birch and a bit of old camping chair that I foraged, and the pot hook's whittled from a bit of seasoned sycamore, it did the job nicely.

Pete got to have a bash at a bit of rock climbing, which he thoroughly enjoyed even though the lack of suitable footwear hampered his success, but I failed to get any photo's. The second night was more or less a repeat of the first, and then a quick tidy up and a stroll home

All in all a superb weekend, great weather, good food, superb company, and even a little adventure to start it all off. I even got to try out my new sleeping set-up, which worked really nicely, I shall write about that soon.

I'm looking forward to the next one already.

Bye for now,

Stuart.

Thursday, 25 October 2012

Bivvy bag modification

One of the best pieces of "bargain" bushcraft syle camping kit available at the moment is the British army issue Gore-tex bivvy bag.

If you're wondering what a bivvy bag is it's simply a windproof and waterproof sleeping bag cover, designed to be used instead of a tent/groundsheet. They work brilliantly in conjunction with a lightweight tarp to keep any dampness from travelling up into your sleeping bag and add a little bit of extra warmth too.

I like the army issue bivvy bags as they're incredibly hard wearing and really cheap, if you shop around you can get pick up good used examples for £20-£30, an equivalent Gore-tex bivvy from a manufacturer like Rab or The North Face would set you back at least £100.

One of the things I'm not so keen on is the design of the bag, they're made to be as waterproof, and squaddie proof, as possible, and as such they have no zips or openings other than the main opening at the hood end. This means that they can be a bit of a struggle to get in and out of, especially when it's cold and wet and you're tired, exactly when you need it most. I decided to try and remedy this problem by fitting a zip to my bivvy bag, hopefully this will make it a bit easier for me to get in and out of my bivvy bag and therefore make the thing a little bit more practical to use.

The zip and the pieces of webbing that I used to reinforce/neaten up the ends of the zip, came from an old tent that was way past it's best, as did the toggle that I fitted simply to stop the zip from coming undone in the night. I'm quite pleased with how this has turned out, although I'm not sure if it's finished yet, I may end up fitting a flap to cover the zip, a few trial nights out will make that decision for me.

The zip is about half the length of the bivvy bag, plenty long enough to make it nice and easy to get in and out of the bag and short enough to leave the bottom portion of the bag still completely sealed against the elements.


A couple of pieces of old webbing were used to reinforce the bottom end of the zip......


....and to tidy up the top end ends too. I also added a toggle and elastic loop to the inside to stop the zip from coming undone during the night.


The original drawstring closure stays in place at the top of the bag but I've made it a little neater by using a cord lock in place of the original bead.


All in all quite an enjoyable and simple project that will hopefully improve an already great piece of kit for a total cost of, well nothing really, just a the cost of the thread and the electricity to run the sewing machine. Best of of all, I managed to recycle some bits of old tent that would otherwise have been thrown away, win win all round.

Bye for now,

Stuart

Monday, 22 October 2012

Tarpology Two

(Image courtesy of Gary Waidson www.ravenlore.co.uk)
During a recent weekend away with some friends from BCUK, Paul Kirtley of Frontier Bushcraft took time out to give us a few hints and tips for setting up larger tarps. These larger types of tarps would most likely get used in a base camp situation, or to provide large sheltered communal areas for groups of people. One of the problems associated with using big tarps is that they can be quite heavy, especially once they get wet, so the methods that get used for setting up lightweight tarps (like this) just aren't up to the job. Heavy tarps call for a lot more load bearing ability on the ridgeline to prevent sagging and to enable the tarp to be set up tautly enough to properly shed rain. To get that load bearing ability two things are needed; a much stronger ridgeline, and a method of tying up that ridgeline that provides more mechanical advantage to provide lots of tension. 

The method that Paul demonstrated is one of the best known, and has been described and illustrated extensively in the past, I just happened to have access to some pretty good photo's of Paul's demonstration so thought I'd share them.

(Image courtesy of Chris Leeland)
The rope that Paul used for this demonstration was 11mm static kernmantel rope, the kind that cavers and tree climbers use a lot, dynamic rope (the kind that rock climbers use) wouldn't be suitable for this method as it's too stretchy. Thinner static rope would be fine, 9mm kernmantel rope has a breaking strain of over 3000kg, even with the mechanical advantage provided by the tensioning system, 3 tonnes+ still takes a lot of breaking. The karabiner is just a standard screw gate type. 

One end of the rope is secured to a tree with a timber hitch. In all honesty this is a method that had never occured to me to use before but it's one that I will be using in the future as it's ideally suited to the purpose. It's really easy to tie, it won't slip under tension, it won't come undone when the tarp's flapping wildly in the wind, it won't swell up and jam when wet, and it's really easy to untie when you come to pack away, it was one of those "why didn't I think of that" moments.

(Image courtesy of Chris Leeland)

The other end of the rope is passed once around another tree and secured and tensioned using a variation of the trucker's hitch. The first stage is to make two bights in the rope, creating an "S" shape, much like tying a sheepshank. Stage two also mirrors the sheepshank; a loop is made in the standing part of the rope and the bight of the "S" nearest to that end is passed through it, being careful to ensure that the loop is twisted in the right direction and that the bight passes through the loop from the correct side. You've now got something resembling half a sheepshank.  Hopefully the images below help to clarify things a little. 

(Image courtesy of Chris Leeland)
A stick is then placed through the bight and the bight is pulled tight against it. Although not strictly necessary this provides a little extra security and helps to ensure that the hitch doesn't collapse under tension.

(Image courtesy of Chris Leeland)
Stage three is to insert a karabiner into the bight that's pointing towards the live end of the rope, the main purpose of the karabiner is that it greatly reduces the friction on the rope whilst it's being tensioned, an added bonus is that, especially when using long ropes, it makes the hitch much simpler to tie.
(Image courtesy of Chris Leeland)

All that's left is to apply tension to the live end of the rope and to tie it off however you see fit. I don't have a photo of the hitch being tied off at the moment, I'll add one as soon as I can.

Bye for now,

Stuart


Wednesday, 22 August 2012

Tarpology One

One of the things I like about bushcraft style camping is the use of tarps as shelters. A tarp at it's simplest is a sheet of fabric, which can be made of either synthetic or natural fibre, with webbing loops  and/or eyelets around the edge. Tarps are used mainly for shelter but they are a truely multi-purpose item, they can be used for wrapping kit, carrying, water collection, foraging, coracle making, etc. I like using tarps as shelters because of the flexibility they give me, and also because of their light weight and low bulk.

The classic way to pitch a tarp is between two trees, with the ridge more or less horizontal and the four corners stretched out to give a good pitch to the roof. I probably use this set up more than any other as it has some great advantages. 

I can get into or out of my shelter from any direction so I don't churn up any one bit of ground, I can see out in every direction so I can watch the world around me, I can hang a line under the ridge to hang all my kit from, plenty of fresh air gets through it, it provides lots of shade, I can sit up, and I can cook under my shelter. The downside to this set up is that it does very little in the way of keeping the wind out, so if it's windy and raining you have to be careful not to get wet, for that reason I nearly always use a bivi bag with this set up.

"Classic" tarp set up at a BCUK meet at Spitewinter
One way to make the "classic" set up more weatherproof is to lower the ridgeline slightly and to peg one side of the tarp down to the ground. This set up is a lot less drafty than the "classic" set up and works better when there's a combination of wind and rain, and this is just the shelter that I would choose for those conditions. The open front still allows plenty of options for access and lets me have a view out of one side at least.

Open fronted set up on my birthday 2011
A natural progression from the open fronted set up is the low profile set up, with this shelter the ridgeline is even lower with both sides of the tarp touching, or almost touching, the ground. This set up is better still at keeping the weather off and does a good job of retaining your body heat through the night. 

The disadvantages of this shelter are the same as with the open-fronted set up, only more so. The view is more or less non existent, access is severely restricted, there's not much space inside, etc. I only really use this type of shelter for quick overnight camps where I'll be striking camp first thing in the morning so only really need a shelter to keep me and my kit dry whilst I sleep. 

It's probably the quickest and easiest of set ups that I use regularly, the shelter below was set up at about 2a.m. on a really frosty winters morning with a belly full of beer and lots of "helpful" advice from friends. Even facing such difficulties it was still only a five minute job to set up. 

Low Profile set up on my birthday 2012
An even more weatherproof set up is the one below, this time the ridge of the tarp goes straight down to the ground at the back of the shelter (no ridgeline's used for this one), and the back corners are stretched out tight so that one side of the tarp is flat to the floor. With the back of the shelter into the wind, and with the tarp pegged tightly to the ground this set up will keep off all but the very worse of the British weather. 

As you can see from the pictures below I can use this set up quite easily without trees as long as I've got at least one pole, here I'm using my walking staff. the combination of tree-free set up and good weather protection makes this my set up of choice for a night on the moors. 

The downsides to this set up are; not a great deal of space to sit up, it can get hot and stuffy inside, condensation invariably forms on the underside of the tarp, you can only get in and out one way, there's not much of a view, and it needs lots of pegs (15 in total but it'll work with 9 on good ground).  The feature of this set up that makes it superior to most others is the fact that in the wettest and windiest of weather I can still have warm and weatherproof shelter in a couple of minutes, and that could possibly be a life-saver one day.

Front yard tarpology (the neighbours have got used to me!)

An idea of how steeply the roof slopes, it's only about 12" from the ground in the middle

These are the four set ups that I use most often, there are lots more ways to set up a tarp, and sometimes I use some of those too, but these four cover 95% of situations for me. I'll be posting quite a bit more about tarps I reckon, it's a big topic.

Bye for now,

Stuart