Showing posts with label projects. Show all posts

Monday, 5 November 2012

A Weekend Away

A couple of weeks ago my mate Rocky asked me if I fancied a couple of days out in the Peak District camping, chilling out, watching the fire, and maybe a little climbing if the weather was good. A bushcaft friend of mine, Pete, has been thinking of getting into climbing for a while so I thought it would be a great opportunity for him to have a go and invited him along too.

In the end we decided to go to a spot close to home, not quite in the Peak District but close enough. The location we chose was a little woodland on top of the glacial valley overlooking Ashover. It's a great little spot where I've camped quite a few times, and Rocky and I have climbed there before, but it was Pete's first visit.

After quite a late one the night before and with a last minute trip to pick up supplies we didn't set off to the camping spot until early afternoon. That shouldn't have been a problem though, we only had a couple of miles to walk and although we had a few hundred feet of altitude to gain it was all along a nice even path that snakes it's way up the hillside. The best laid plans and all that. After about twenty minutes of walking we reached a spring that we wanted to check out as a possible water source, so a quick break for a drink and a smoke whilst we had a good look at the spring seemed like a good idea. Once the rucksacks were off our backs, and we'd had a few minutes to sit and cool down we all started to get a bit more active, the winding path no longer looked so interesting, the really steep muddy hillside completely covered in overgrown Rhododendrons however looked like a great idea. So the suggestion was made that maybe we might want to try the slightly trickier route straight up the hillside, a quick vote was cast, and the decision was made. Onwards and upwards it was. Crazy.

Looking back the way we came, nice easy walking along a clearly defined path, bliss....... 

.....And the way we were going, straight up a muddy slippery hill over fallen trees and under low growing Rhododendrons, hellish.

I didn't take any pictures on the way up the hill, it was simply too much like hard work to stop and photograph anything. This is Rocky crawling up the last little section to the top, we had to resort to taking our packs off and pushing/dragging them like this on a few occasions. Good times. 


I'm not entirely sure what this expression portrays, quite possibly "I'm going to kill whoever's stupid idea this was".

Once we'd made the top it was time to put the bags down and rest our legs for a bit. You can just see the very last bit that we had to climb up behind Rocky and Pete in this picture, it was ropes and teamwork for this last bit. 

The walk in had taken us about two and a half hours, and we'd covered a little over a mile. I've had gentler strolls. Once we'd reached our chosen camping spot we only had a few hours of daylight left so we got a fire going and settled in for the evening.

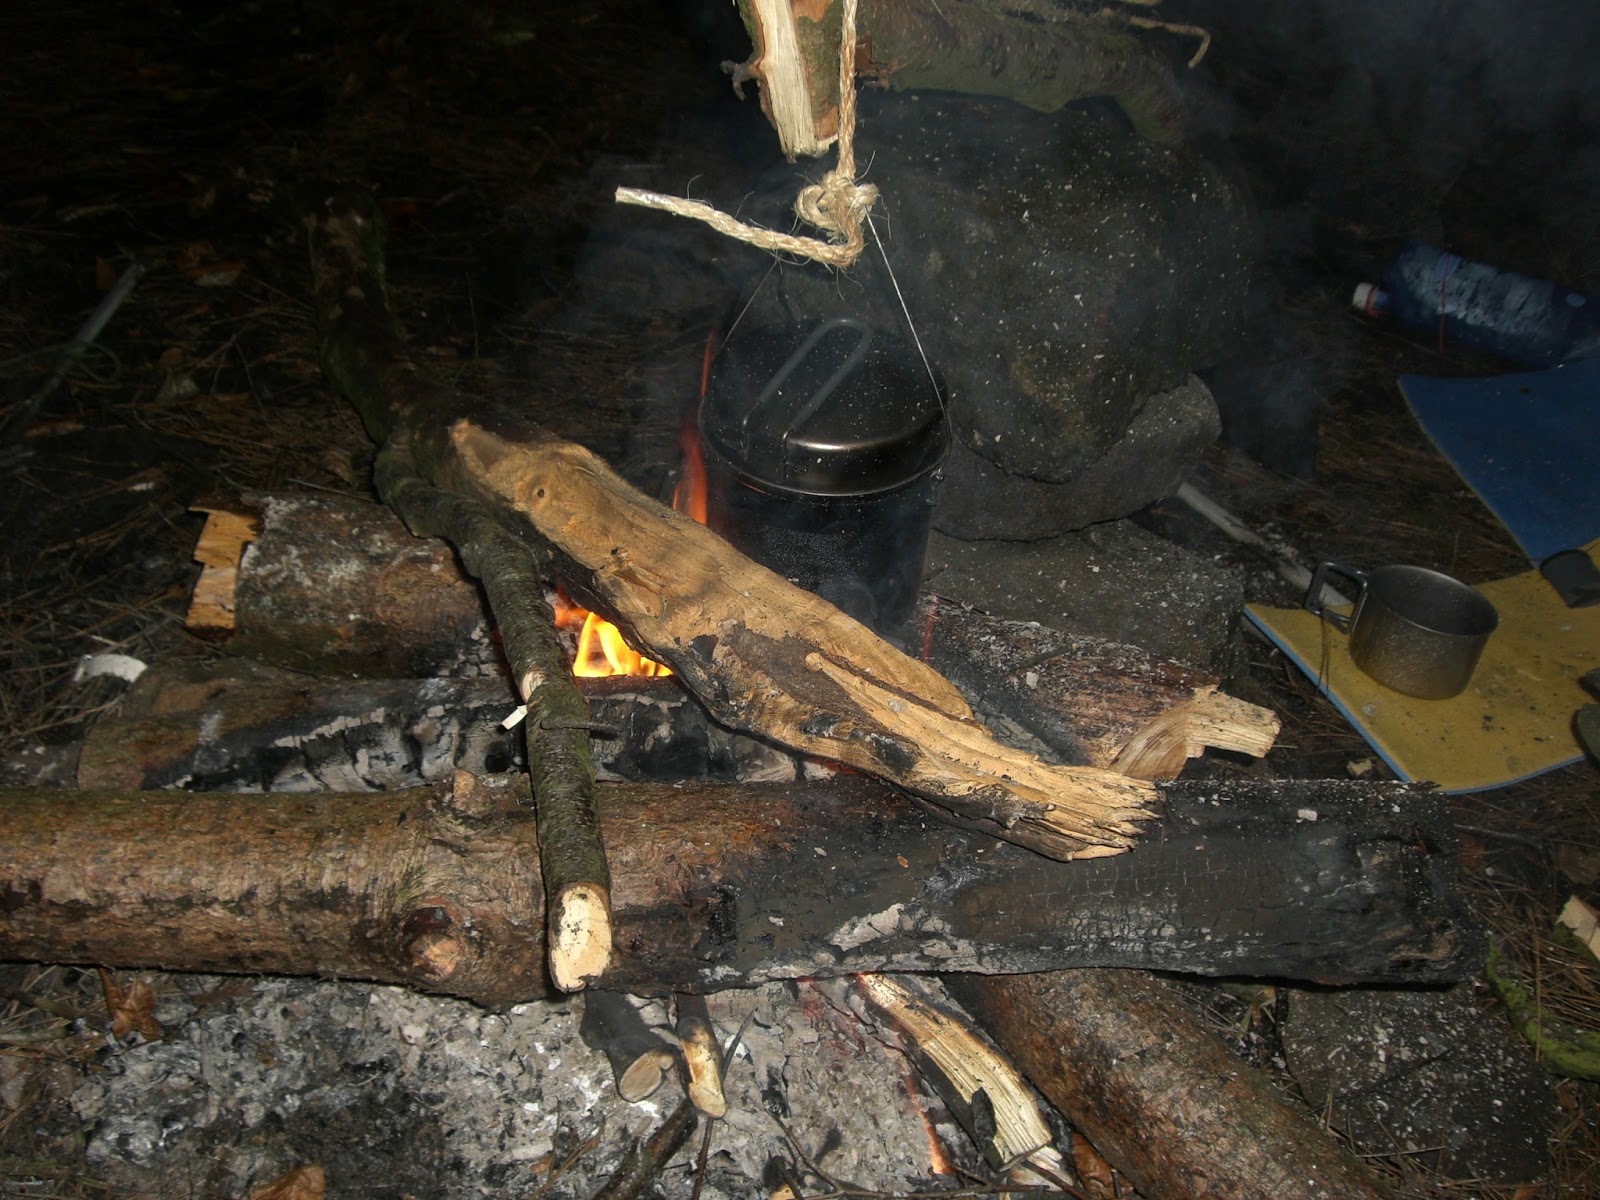
With the fire lit and a quick pot hanger knocked up it was time to get a brew on 

One of the problems associated with any kind of outdoor activity at this time of year is the lack of daylight hours. Sunset was at about 16:30 on Friday night which left us with very little choice other than to sit and watch the fire and drink wine, no real hardship. One of the advantages of darker nights is that the local wildlife gets out and about a lot earlier in the day so you've got a much better chance of spotting things. During a wander to the facilities I heard lots of rustling in the undergrowth so stopped and listened to try and work out what I was hearing. At night time in the woods sounds seem to get amplified out of all proportion, the rustling in the undergrowth that had stopped me in my paces at a good ten yards distance turned out not to be bears but wood mice (Apodemus sylvaticus), who appeared to be completely happy with our presence, one of them even let me get close enough to take this Photo:


The next day was spent enjoying the views.....


.....and a little bit of campsite improvement. I bodged together an adjustable pot hanger, the crane's a length of birch and a bit of old camping chair that I foraged, and the pot hook's whittled from a bit of seasoned sycamore, it did the job nicely.

Pete got to have a bash at a bit of rock climbing, which he thoroughly enjoyed even though the lack of suitable footwear hampered his success, but I failed to get any photo's. The second night was more or less a repeat of the first, and then a quick tidy up and a stroll home

All in all a superb weekend, great weather, good food, superb company, and even a little adventure to start it all off. I even got to try out my new sleeping set-up, which worked really nicely, I shall write about that soon.

I'm looking forward to the next one already.

Bye for now,

Stuart.

Thursday, 25 October 2012

Bivvy bag modification

One of the best pieces of "bargain" bushcraft syle camping kit available at the moment is the British army issue Gore-tex bivvy bag.

If you're wondering what a bivvy bag is it's simply a windproof and waterproof sleeping bag cover, designed to be used instead of a tent/groundsheet. They work brilliantly in conjunction with a lightweight tarp to keep any dampness from travelling up into your sleeping bag and add a little bit of extra warmth too.

I like the army issue bivvy bags as they're incredibly hard wearing and really cheap, if you shop around you can get pick up good used examples for £20-£30, an equivalent Gore-tex bivvy from a manufacturer like Rab or The North Face would set you back at least £100.

One of the things I'm not so keen on is the design of the bag, they're made to be as waterproof, and squaddie proof, as possible, and as such they have no zips or openings other than the main opening at the hood end. This means that they can be a bit of a struggle to get in and out of, especially when it's cold and wet and you're tired, exactly when you need it most. I decided to try and remedy this problem by fitting a zip to my bivvy bag, hopefully this will make it a bit easier for me to get in and out of my bivvy bag and therefore make the thing a little bit more practical to use.

The zip and the pieces of webbing that I used to reinforce/neaten up the ends of the zip, came from an old tent that was way past it's best, as did the toggle that I fitted simply to stop the zip from coming undone in the night. I'm quite pleased with how this has turned out, although I'm not sure if it's finished yet, I may end up fitting a flap to cover the zip, a few trial nights out will make that decision for me.

The zip is about half the length of the bivvy bag, plenty long enough to make it nice and easy to get in and out of the bag and short enough to leave the bottom portion of the bag still completely sealed against the elements.


A couple of pieces of old webbing were used to reinforce the bottom end of the zip......


....and to tidy up the top end ends too. I also added a toggle and elastic loop to the inside to stop the zip from coming undone during the night.


The original drawstring closure stays in place at the top of the bag but I've made it a little neater by using a cord lock in place of the original bead.


All in all quite an enjoyable and simple project that will hopefully improve an already great piece of kit for a total cost of, well nothing really, just a the cost of the thread and the electricity to run the sewing machine. Best of of all, I managed to recycle some bits of old tent that would otherwise have been thrown away, win win all round.

Bye for now,

Stuart

Sunday, 26 August 2012

Spoon carving

There's something really satisfying about carving a spoon, I guess it's got something to do with how familiar a spoon is (it's one of the first objects that we learn to recognise as babies, for a good while everything that we eat comes on a spoon, I'm sure that has to leave some kind of lasting impression on us). There's very little more that I can say about my wooden spoons to be honest, they're spoons, made of wood! At some point in the future I'll probably write a little about the process of making a spoon and some of the tools involved, but for now, here's some of the spoons that I've carved. enjoy.

L-R apple, leylandii, oak
Bye for now,

Stuart

Friday, 24 August 2012

Kolrosing a Mora 120


Kolrosing is a decorative handicraft from Scandinavia, the basic process is as simple as you like but the results are great. A bushcrafty friend of mine showed me the Kolrosing that he'd done on his mora woodcarving knife and I really liked how it improved the knife. Mora 120's are superb little knives, the blades shape really suits the kind of woodcarving that I do and it takes and holds a nice sharp edge, and the handle shape is lovely and comfortable right out of the box. The price is pretty good too, I think I paid £12 for mine (I've seen them even cheaper since), and, as with any good quality knife I fully expect it to last longer than I do. The only real downsides to the mora 120 are that the sheath that comes with it is more or less useless and the knife itself is the plainest most boring thing you could ever cast eyes upon. 


standard mora 120
(image courtesy of www.knifereviews.co.uk)

Anyway, I decided that seeing as how this is a Scandinavian knife a little Kolrosing on the handle would be just the thing to pretty it up a little. I went for a couple of fairly simple knotwork designs as it's easy to build up composite designs with knots, so the overall effect looks a lot more involved and complicated than it actually is. These knots are usually known as celtic knots but there's no real reason for that, yes the celts did use knotwork designs in things such as jewellery but then so has just about every culture on the planet, especially those with northern european links. I guess "generic northern European neo pagan knotwork" just doesn't have to same ring to it. I don't think it's finished yet, there's a little bit too much space left I think, time will decide that for me. Anyway, this is what I've got so far, feel free to let me know what you think.


Bye for now,

Stuart

Thursday, 23 August 2012

Kiridashi

Earlier this year I decided to try my hand at knife making and decided on a Kiridashi as my first project. "What's a Kiridashi" I hear you ask, well it's a Japanese style of knife, made from one piece of metal (so the handle and the blade are made from the same piece of steel), usually without any additional handle material (although you quite often see them with a simple cord wrap), and with a chisel ground edge. They're used as woodworking knives by Japanese carpenters and woodcarvers, sometimes designed as a utility knife, something like the British tradesman's "Stanley" knife, and sometimes designed with a very specific purpose in mind. Mine was designed purely around the material that I had in the workshop at the time. I made it from one half of an old pair of garden shears that had been rusting away in the shed for years and were in desperate need a new lease of life. This knife was made using only hand tools and hardened and tempered in a home made charcoal forge with an engine oil quench.

I'm pretty pleased with how it's turned out, although I've never done any knife making before this I do have quite a bit of experience of working with hand tools and working with metals and I think the skills and techniques that I've picked up over the years really shone through here. I made mistakes, and there's bits and bobs wrong with the finished items but it's all a learning experience and hopefully I can take forward what I've learned and do an even better job next time.

Kiridashi resting on a fox skull
Making this little knife was a really fun and satisfying project, and remarkably straight forward to do. I think I'll be trying my hand at some more knife making in the future, maybe something a little more involved next time.

p.s. sorry about the poor quality of the photo, I'll try and update it as soon as I get a better one

Bye for now,

Stuart